Key filming skills
Use a stills camera
In the UK, one second of moving pictures contains 25 frames. Since an average shot in a film might be 6 seconds long that means it has 150 frames. Film was once the only medium that could capture so many frames, but that has all changed.
Video cameras are not very good at timelapse, because it’s hard for them to record single frames at long intervals, whereas digital stills cameras do it beautifully. And the best thing about them is that they’re no longer limited to rolls of 36 frames.
Find your location
To get the most out of this technique, find a subject that will change a lot in one day. Mushrooms often sprout quickly, so they are perfect.
All you need to do is scour the forest floor one morning for the earliest signs of an emerging fungal fruiting body, then set up your camera and tripod in a promising location.
Do the maths
To end up with a film sequence lasting 10 seconds, you’ll need to take 250 (10 x 25) frames. If the daylight is going to last 10 hours, or 600 minutes, that gives a 2.4-minute gap between frames (600/250 = 2.4).
Get the timing right
Some digital cameras have built-in timers, but you can also use clever gadgets called intervalometers, which simply plug in. The camera needs time to save each frame before taking the next, so the shortest practical interval you can work with is a few seconds.
Plan ahead
It sounds obvious, but always start with a fully charged battery. And think about where the camera’s shadow will fall later in the day, as this could spoil your sequence.
STEP BY STEP: HOW TO SET UP A CAMERA TO FILM TIMELAPSE SEQUENCES
1. Load the camera
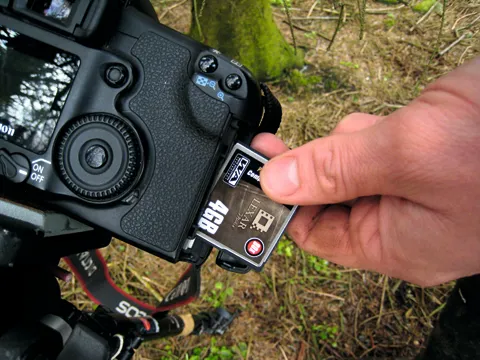
Memory is the key factor to consider, especially if you are planning to take several timelapse shots, because of the high number of frames involved. Some people set their cameras to save Raw files, but jpegs are fine for most purposes and you’ll get more frames this way.
2. Select the mode
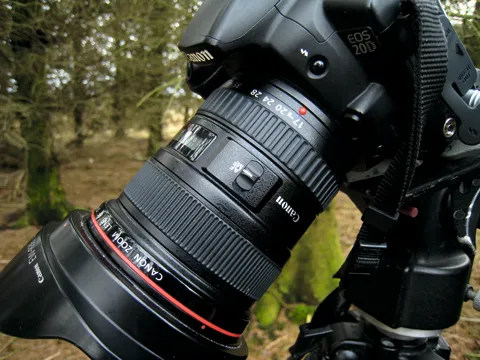
Use manual focus or the shot may change slightly between frames, making the timelapse flicker. For the same reason, it’s also best to set the white balance control to daylight and exposure to manual.
A flash with a large battery pack, if you have one, will provide even more lighting.
3. Experiment first
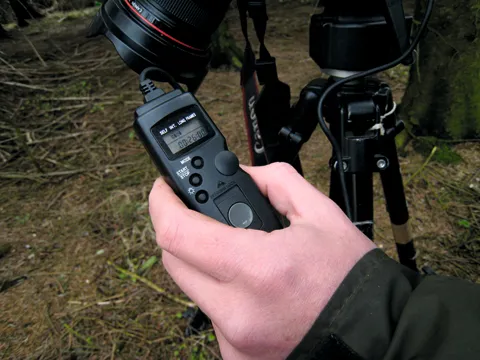
It is a good idea to try out different time intervals at home before heading into the forest to start shooting. Set your chosen interval on the intervalometer or built-in timer, then focus the camera (to check the subject is pin-sharp, zoom in, focus, then zoom out to your chosen framing).
4. Export the pictures
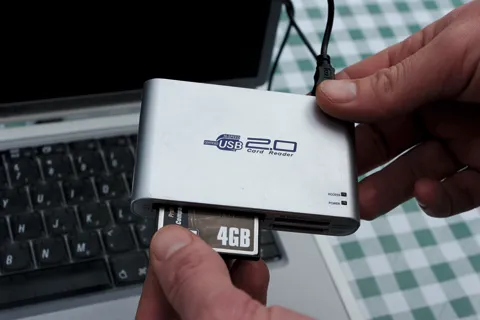
The moment of truth has arrived – it’s time to download the stored pictures to see how your timelapse has turned out. The easiest programme to view it with is QuickTime Pro.
Select ‘Open a new image sequence’ in the drop-down file menu and it will make all your stills into a movie.
5. Watch the film
Images taken over 10 hours and then played back in 10 seconds will speed up reality 360 times, giving you a wonderfully different perspective of the drama unfolding on the woodland floor.
Hopefully, your short piece of film will show a mushroom emerging as if by magic from the leaf litter.

