There’s a whole new world to discover when you decide to look into life in miniature. And while the shots may not always draw the same attention as those of large mammals, close-up photos of invertebrates and plants can be just as visually stunning, whether you’re focussing on the compound eye of a damselfly or the intricate structure of a sundew.
Macro doesn’t just mean insects and flowers. It can include frogs, lizards, mice, snakes, fungi and all the other examples of tiny life on Earth, many of which are every bit as colourful and fascinating as bigger, more famous beasts.
There’s a world of creative opportunities out there, and something very appealing about finding different ways to reveal lesser-known species and the nests, colonies and societies they build for themselves. Indeed, one of the best things about macro photography is that it allows you to show people something new.
In our expert guide below, we reveal professional tips and which equipment you need to get started in the world of macro wildlife photography.
How to photograph wildlife
Want to learn more? Whether starting out in macro photography or entering the Wildlife Photograper of the Year competition, you'll find plenty of useful info in our wildlife photography hub.
Meercats put on a pose. © Thomas Peschak/Wildlife Photographer of the Year 2021
How to get started in macro photography
When the subject is so much in focus, the smallest change in technique can make a huge difference to the outcome. Here are three key points to keep in mind when taking macro shots of wildlife:

1. Scale
Playing with perspective can be an integral part of storytelling in macro photography. This image cleverly distorts your sense of scale – what is in fact a tiny beetle appears enormous when you spot the even tinier ant. The interaction also tells a story, making you question what’s going on.
2. Focal point
Macro shots have a very narrow depth of field (the ‘zone’ of focus). The beetle’s far legs are beyond the focal zone, so Ripan has created a single line of focus incorporating the ant and the beetle’s near legs.
3. Angle
Ripan has chosen a great angle: slightly away from side-on. It means you can see the beetle’s entire profile, including both antennae, and there’s still space around the frame.
Specialist equipment for macro photography
In terms of equipment, macro photography does require some investment in specialist gear. “You should always take a mid-range focal-length macro lens (85-105mm) with you,” says macro specialist Ripan Biswas. “These are light, not too expensive and give a fair working distance from your subject.”
“For short-range (around 40mm), macro lenses are lighter and cheaper, but their working distance is very short, meaning you may find yourself casting a shadow over your subject or scaring it away. High-range (150-200mm) macro lenses are heavy and expensive, but they offer a good working distance.”
The great thing about macro photography is that you can find a host of colourful and interesting subjects on your doorstep. Ladybirds, ants, moths, damselflies and dragonflies all translate brilliantly in close-up, and can easily be tracked down in gardens and parks.
Do remember that smaller creatures often serve as prey, and will feel vulnerable when larger animals – including humans – are looming over them. Always approach with caution and move around these skittish and flighty creatures with care.
And, of course, you’ll need to be able to stay super-still – sometimes, even the pulse of your beating heart can be enough to jolt your camera and blur your images.
Three top tips for great macro shots
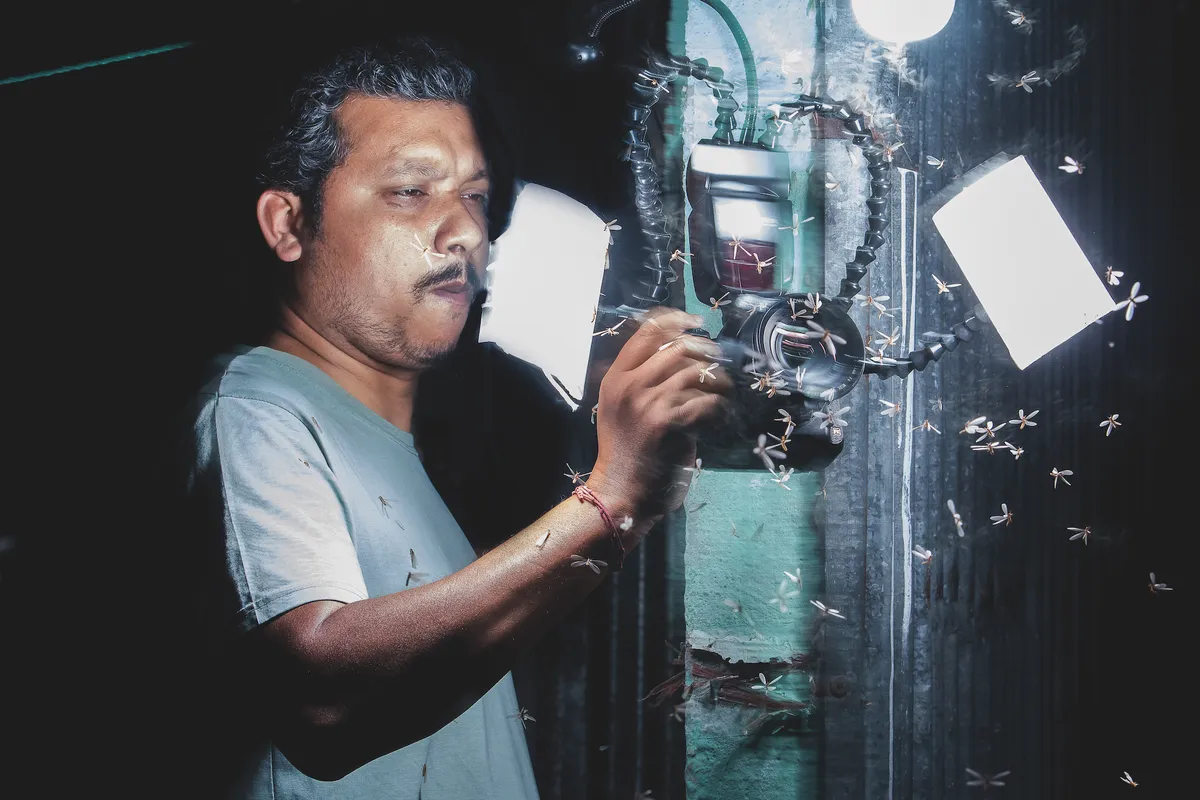
1. Use a flash
Use flash photography to freeze the moment and illuminate your subject. To get the maximum depth of field, photographers use the highest possible F-number, which requires a slower shutter speed. A flash comes in handy in this situation, both for the extra light and to eliminate shake or movement of your subject. To make the light soft and uniform, use a diffuser.
2. Try a tripod
A tripod will not only eliminate camera shake, but will also help you compose your frame if you’re manually adjusting the focus.
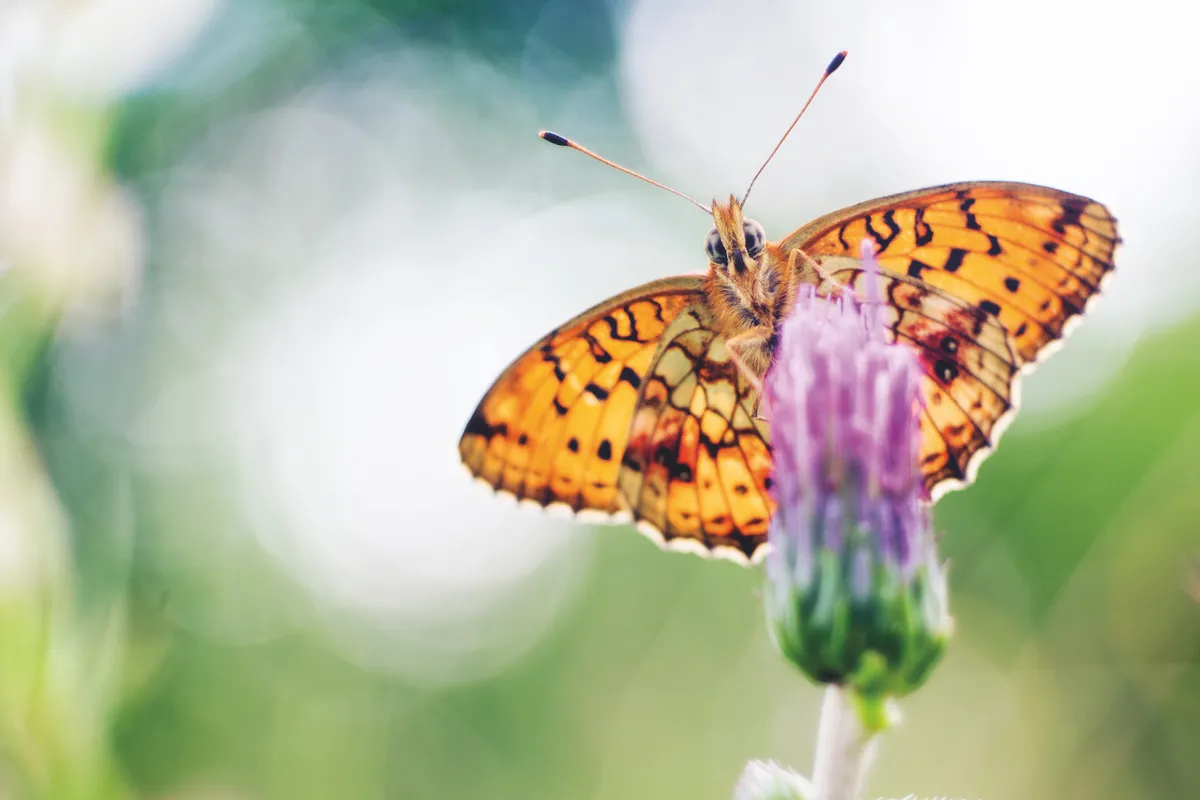
3. Go eye-to-eye
It’s helpful to get down to the same level as the creature you’re photographing. This is how you get the best angle to photograph your subject, and means the background will usually be smoother. It also helps to use high F-numbers so you can get a greater depth of field.
Main image credit: Close-up of of a sundew (Drosera rotundifolia) showing tentacles with secretions of mucilage, Peak District NP, August 2011. © Nature Picture Library