How to go pond dipping

To observe the ecosystem of your pond up close, try pond dipping. Pond dipping is great for all ages, but it’s a particularly good activity to do with kids.

Gently sweep the net beneath the surface of the water. Lift it out and empty the contents into your container. © Kate Bradbury

You can pond dip at any time of year, although spring and summer will yield more results as the water is rich with new invertebrate life.

When pond dipping with children, ensure they know the essential rules (see below), and that they are always with an adult. You don’t need a lot of kit. Use a fishing net or even an old kitchen sieve, and white trays to help you see what you find. You may also want to record species – taking note of the day, time and year can help you work out how quickly new species are colonizing your little body of water.
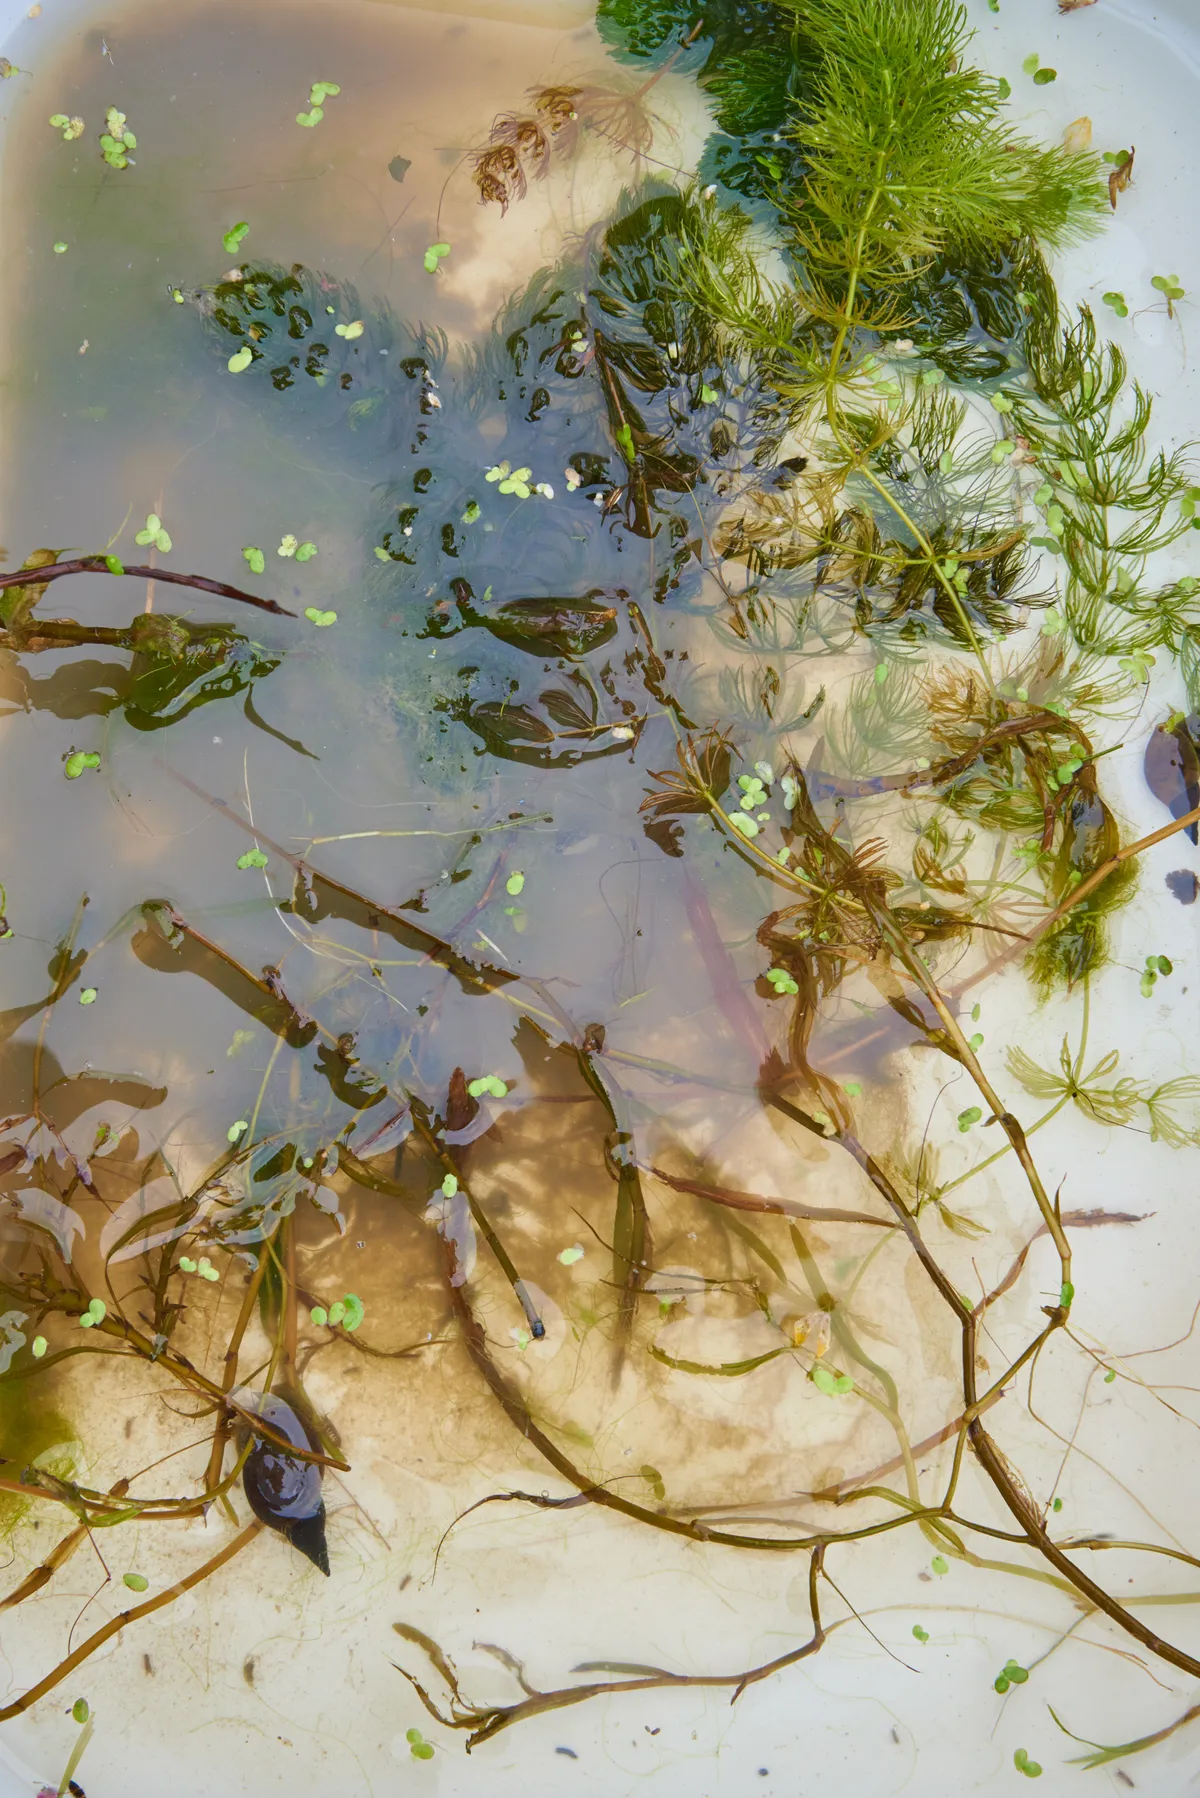
Take your time to suited what you find, moving plants and animals around gently if you need to get a better view. © Kate Bradbury

At each stage, work slowly and carefully so as not to harm the animals. Try different areas and depths of the pond to catch the greatest range of species.

Once you’ve finished observing and recording, gently return your catch to the water.

The essential rules of pond dipping

There are a few rules to follow when pond dipping, to keep both humans and wildlife safe:

  • Always kneel to avoid falling in. Never stand at the edge.
  • Use separate containers for predators and prey – if you keep them together you may find the prey keeps “disappearing”.
  • Avoid leaving the trays in the hot sun, which can cause the water to overheat and harm your catch.
  • Return all of your catch to the pond after you’ve finished.
  • Never move animals from one pond to another.
  • Rest the net in the pond while you investigate, to avoid harming anything that is caught in it.

What species are found in ponds?

The web of life in a pond is complex, and includes microscopic species, detritivores that eat dead plant material, algae-eaters, predators and parasites.

You can find some pond invertebrates in our identification guide, but you may wish to invest in a freshwater life book to cover species at all stages of their lifecycles. Learning to identify these species will greatly enhance your enjoyment of your pond.

Advertisement

You Will Need

  • Long-handled fish net with a 1-2mm (1/4 in) mesh
  • At least two white wide-bottomed containers, such as old baking trays or ice cream tubs
  • Magnifying glass, Optional
  • ID guide
  • Notepad and pencil

Step 1

Approach the pond slowly and carefully – the tiniest of vibrations from your feet landing on the earth will be detected by animals in the pond so it’s worth sitting quietly at the pond edge for a few minutes after you’ve arrived.

Find a sturdy, non-slippery spot to kneel safely at the edge and scoop some water into your container as a starting point.

Dip your container in the water, partially filling it with pond water. Set it down on the side of the pond. © Kate Bradbury

Step 2

Make a sweep of the pond with your net, submerging it fully and then emptying it into a container. Avoid the temptation to fill your tray with vegetation as too much will create hiding places for small animals, which you then may not be able to find.

Gently sweep the net beneath the surface of the water. Lift it out and empty the contents into your container. © Kate Bradbury

Step 3

If you have excess vegetation, remove it carefully and return it to the water. While looking in the tray, rest your net in the water so anything trapped in the net can escape easily.

Remove most of the vegetation as this may obscure the animals. © Kate Bradbury

Step 4

As the water settles, start to look at the animals wriggling in the water. Be kind – don’t keep anything in the trays for longer than is necessary, and be particularly careful on a hot day when the water in your tray will heat up quickly.

Separating predators from prey (using a second tray) is also a good idea: keep dragonfly and damselfly nymphs, diving beetle larvae and backswimmer nymphs in a separate tray or they will make short work of tadpoles and other larvae.

Once you’ve finished observing and recording, gently return your catch to the water.

Identify and record what you have found. © Kate Bradbury
Advertisement

Kate Bradbury is an award-winning author and journalist, specialising in wildlife gardening. She edits the wildlife pages of BBC Gardeners’ World Magazine, writes for The Telegraph, The Guardian, The Garden (RHS), and BBC Wildlife and Countryfile magazines, and is the author of several titles, including Wildlife Gardening: For Everyone and Everything and The Wildlife Gardener (Bloomsbury). A patron of Froglife, Kate lives and breathes wildlife gardening, and is currently transforming a tired patio garden into her own wildlife oasis.

Kate Bradbury portrait

This is an extract from How to create a wildlife pond by Kate Bradbury. Published by DK, £14.99.

How to create a wildlife pond book jacket